Warehouse operations5 min read
Designing Storage Locations and Codes: From Zone to Shelf to Bin
How to build a clear location system for your warehouse, choose codes everyone reads without confusion, separate primary and overflow locations, and why tracking quantities per location makes picking and counting faster and more accurate.
MIRSAD Editorial Team
Practical content on inventory and warehouse management
"The item is in the warehouse, but nobody knows where." Many storekeepers have heard this, especially as the number of products grows or work passes to new staff. When knowing where stock sits depends on one person's memory, picking slows down, counting gets harder, and mistakes repeat whenever that person is away. A clear location system solves this at relatively low cost, and turns knowing where stock sits from one person's experience into shared information everyone in the warehouse can reach.
The hierarchy: from zone to bin
The idea is that every place in the warehouse has an address, just like streets and buildings. A common hierarchy is:
- Zone: a large part of the warehouse with a specific purpose, such as dry goods, high-value items, or receiving and staging.
- Aisle or rack: a row of shelving within the zone.
- Level: a horizontal shelf within the shelving unit, counted from the bottom up.
- Bin: a specific spot within a level, when small items need finer division.
Not every warehouse needs all four levels; a small warehouse may only need zone, rack and level. What matters is that the structure is stable and understood by everyone who works there.
How to choose codes that are hard to misread
A good code is quick to read and needs no explanation. Some practical rules:
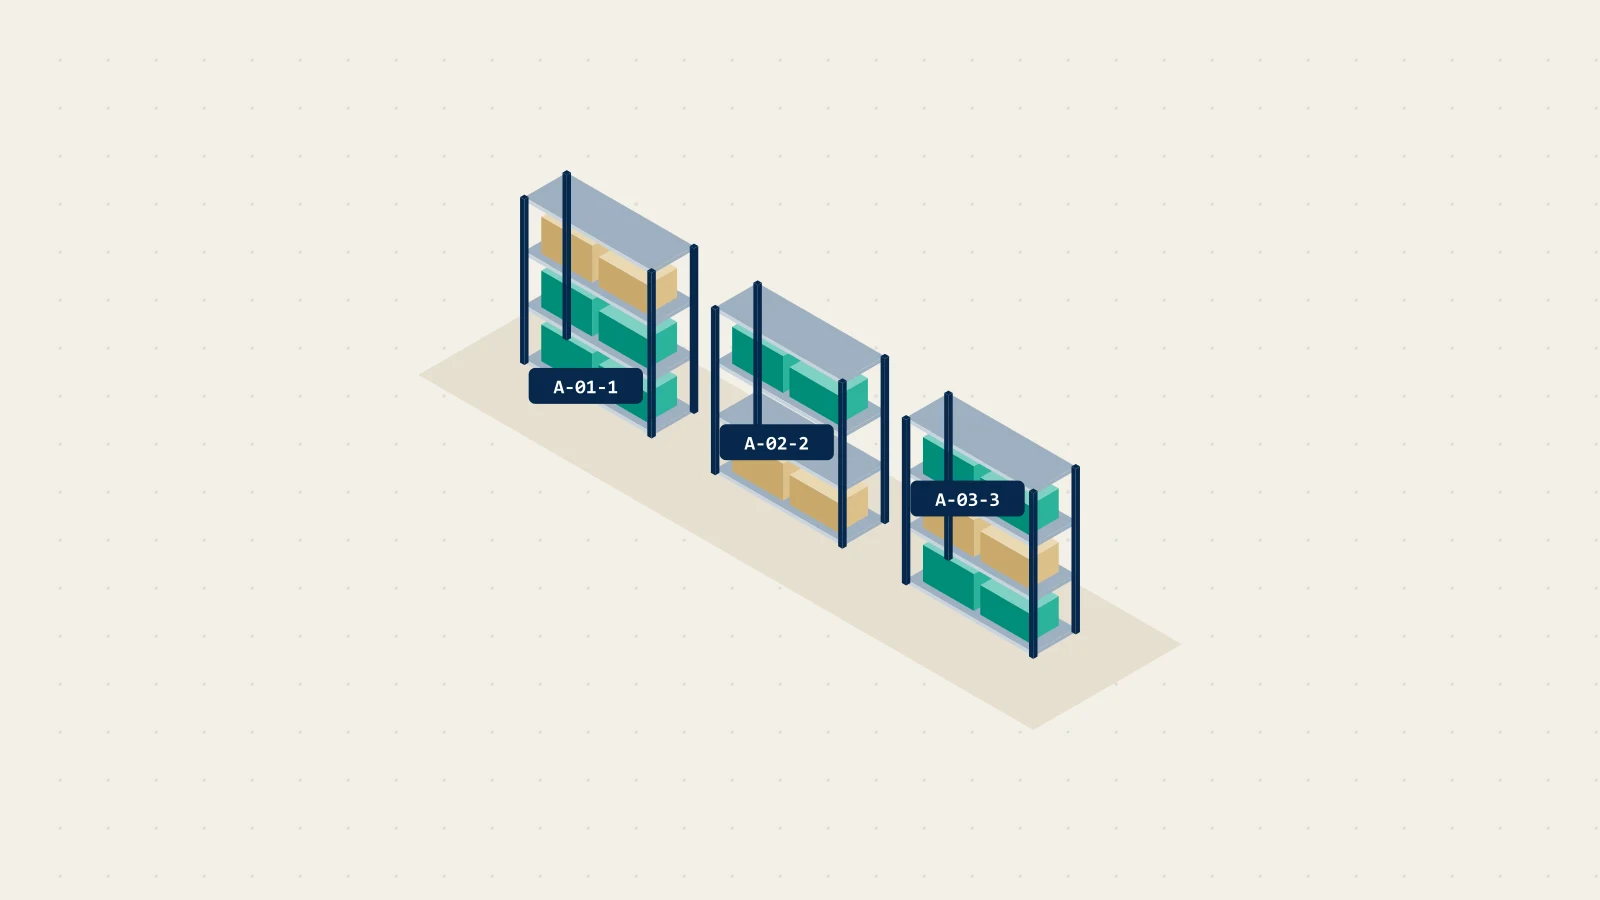
- Read from general to specific: zone, then rack, then level. In the illustrative code A-03-2, for example, A is the zone, 03 the third rack and 2 the second level.
- Use a fixed number of digits: write 03 instead of 3 so codes sort correctly in lists and reports.
- Avoid confusing characters: such as the letter O and zero, or the letter I and one.
- Use one separator: the same hyphen in every code.
- Keep changing information out of the code: never put a product or supplier name into a location code, because products change and locations stay.
Labels: the code everyone can see
A location system is worthless if the code is not visible on the spot. Put a clear, large label on every location at a height that is easy to read, and add a barcode if your team scans, so a location can be confirmed by scanning rather than typing. Check labels regularly: a torn or faded label brings the problem straight back.
Do not forget the places that are not shelves. The receiving area, the order staging area before dispatch, the returns area and the area for damaged or expired goods are all places where stock actually sits. Without codes they become "black holes" where quantities disappear between receiving and putaway. Give each of them a clear code, and record stock there just as you would on a shelf.
Primary and overflow locations
It helps to give each product a primary location that is close and easy to reach, where it is normally picked from, and overflow locations for surplus stock, such as upper levels or a bulk storage area. On receiving, put what fits into the primary location and the rest into overflow, then replenish the primary location from overflow when it runs low, with a recorded move between the two.
Picking stays fast because the picker goes to one known place, and reserve stock is never lost because it is recorded in its own locations too.
Rolling it out in a warehouse that is already running
If your warehouse has run for years without a location system, you do not need to stop it to introduce one. Start with one zone: put labels on its shelving, then count it location by location and record each product in the place it actually sits. From then on, record every new receipt in that zone with its location, and every move between its racks as a movement. When the first zone is stable, move on to the next. Within a few weeks every product has a known address, without stopping work and without an exhausting full stocktake.
Why track quantity per location?
Knowing you have one hundred units of a product is useful. Knowing that sixty are in the primary location and forty in overflow is far better, for several reasons:
- Faster picking: the picker goes straight to the location holding the quantity needed.
- Easier counting: you can count a single rack or aisle and compare it with its recorded balance, instead of counting a product everywhere at once.
- Fewer errors: when a variance appears in one location, it is easier to trace the movement that caused it.
- Quicker onboarding: new staff do not need to memorise where everything is.
Checklist before you start
- Have you drawn a simple plan of the warehouse and divided it into clear zones?
- Have you adopted one code format with a fixed length and no confusing characters?
- Does every location have a clear label that is easy to read or scan?
- Does every product have a primary location, and are moves between locations recorded?
In MIRSAD you can create a warehouse's locations from a template of zones, racks and levels, give a product several locations with a primary one that is suggested on receipts, and track the quantity in each location. When you search for a product, the Smart 3D warehouse shows the rack and level where it is stored. Learn more on the 3D warehouse page.