Smart warehouse5 min read
The Smart 3D Warehouse: A Practical Guide to What It Does and Its Limits
How a 3D view of your racks helps you reach a product on its exact shelf, read the status of every rack and train new staff — and what you should not expect from it.
MIRSAD Editorial Team
Practical content on inventory and warehouse management
In many warehouses, the longest-serving employee knows where every item lives. When that person is on leave or moves to another branch, the searching starts and customers wait. A 3D view of the warehouse does not replace good organisation, but it makes what is recorded in the system visible to everyone: where each rack is, what it holds and which racks need attention today. This guide covers the practical uses of such a view, its limits and how to start with it properly.
What is a smart 3D warehouse?
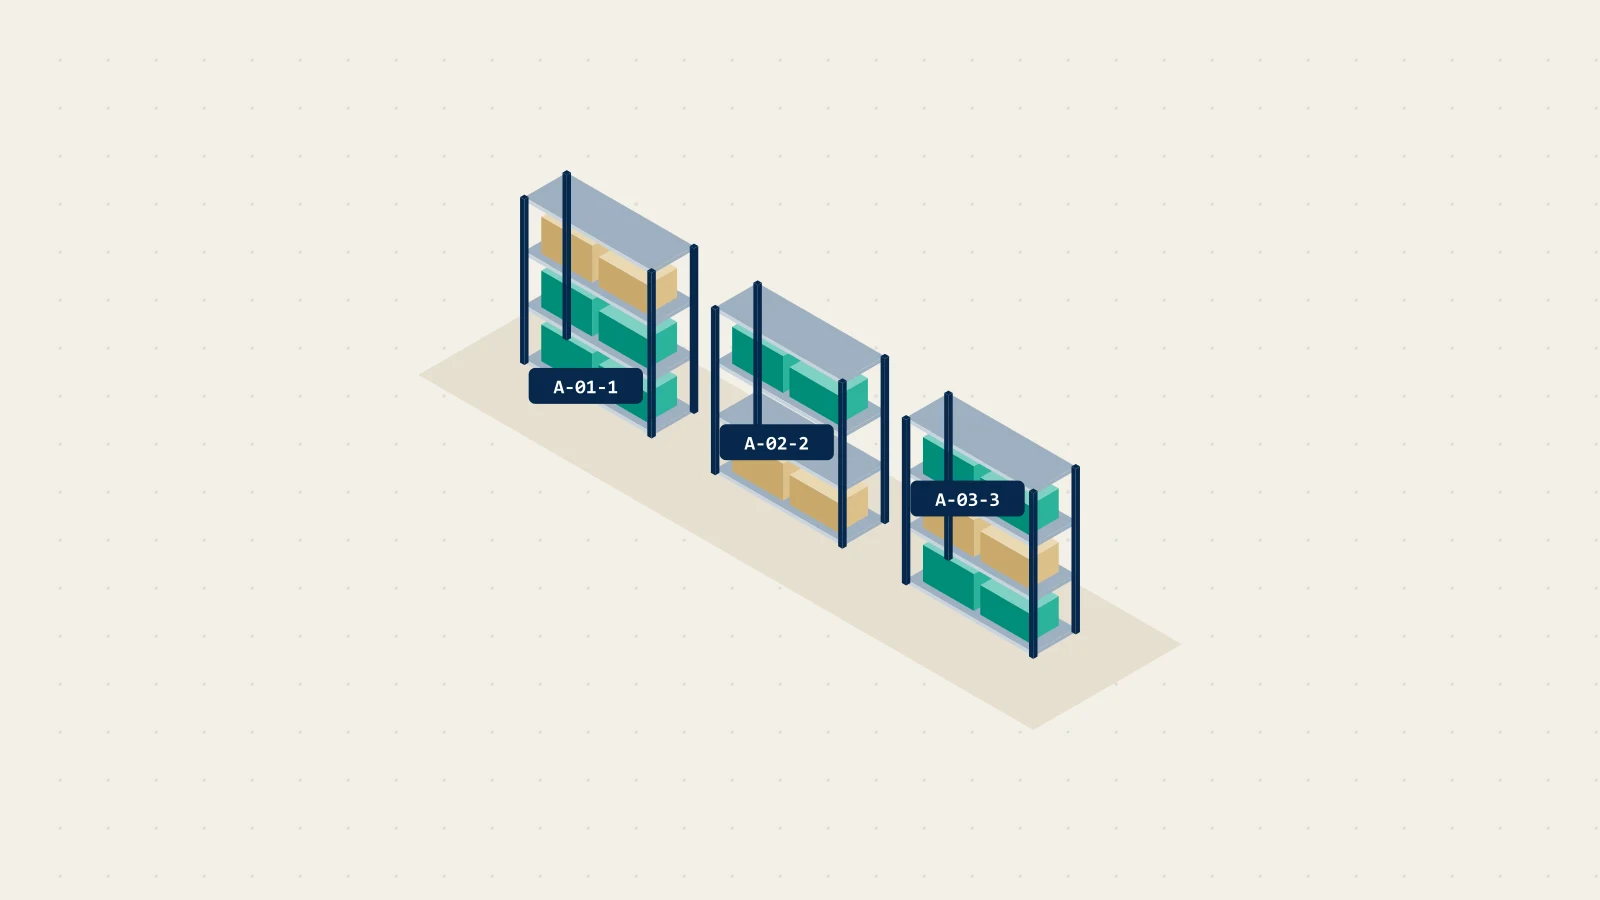
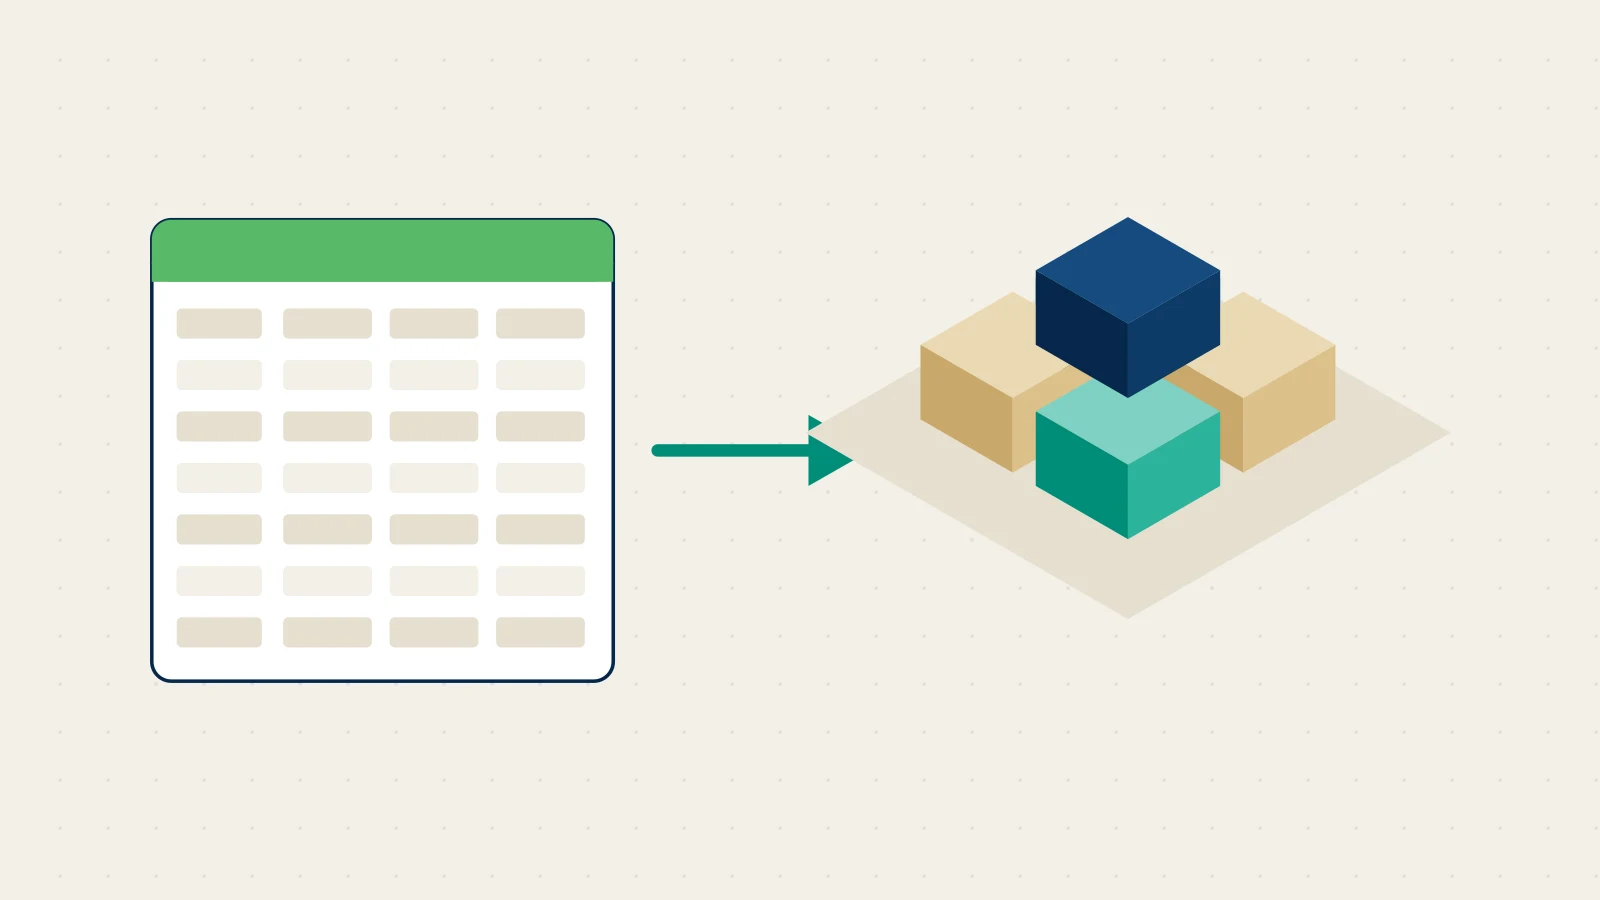
It is a digital representation of your warehouse layout, built from the storage locations recorded in the system: zones, aisles, racks and the levels on each rack. The system draws every rack in its place on the plan and links it to the stock balances recorded at that location. The result is a picture you can rotate and zoom, where you see the status of each rack instead of reading a long table of numbers.
The key point is that the information comes from recorded movements: receipts, issues, transfers, counts and adjustments. When those movements are recorded on time and in the right location, the picture is accurate. When recording is late, or goods are put away in the wrong place, the picture shows that mistake exactly as it is.
Four practical uses
Reaching a product on its exact shelf
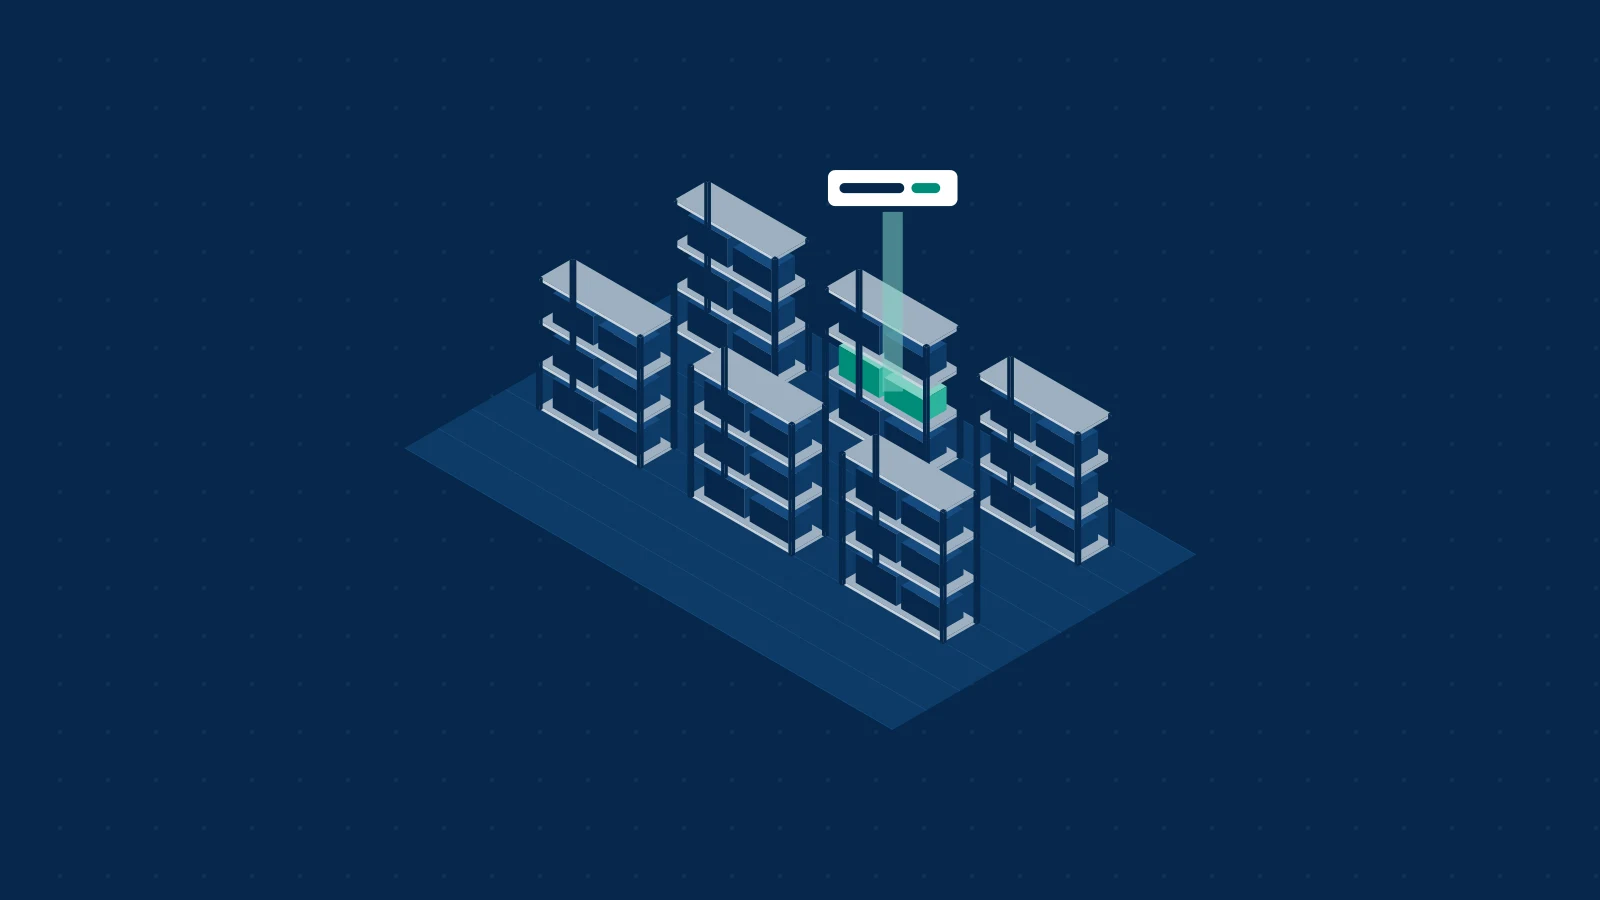
Instead of asking colleagues or walking the aisles, you type the product name or code and the system shows the rack and the level it sits on, with the quantity recorded there. This helps when preparing an urgent order, when looking for a specific batch before it expires, or when an item is spread across several locations.
Reading rack status at a glance
Each rack can be marked by its status: out of stock, needs attention (low quantity, a batch close to expiry, or a count waiting for approval), normal, or empty. A supervisor who starts the day with this view knows where to send the team first. Status should never rely on colour alone; an icon and text should accompany it so it is clear to people who find colours hard to tell apart.
Reviewing a layout before changing it
When you add racks or redistribute zones, the view helps you catch mistakes before they reach the warehouse floor: a rack with no code, a zone larger than planned, or a code sequence that would confuse pickers.
Training new staff
New employees need time to learn a warehouse. Showing the layout and searching for products shortens that time, because it connects the location code printed on a label with its real place in the picture. New staff learn the warehouse's "language" before memorising its details.
What the view does not do
It is only fair to state the limits of this tool so it is not used for the wrong job:
- The plan is schematic, not drawn to scale. Its purpose is orientation and understanding, not engineering design or space calculations.
- The view is read-only. Balances change through the usual operations — receiving, issuing, transfers and counts — not by moving objects in the picture.
- There are no sensors. The view does not see the goods; it reflects only what has been recorded. Regular cycle counts remain essential to find differences between recorded and actual stock.
- No imaginary places. A product that has not been assigned to a location is not put on a guessed rack, which is more honest than assuming a place for it.
Keep the 2D plan and the list
3D graphics do not suit every device or every user. Some older devices cannot run them well, and some people rely on screen readers or simply prefer an ordered list. A top-down 2D plan and a list view with the same information should always be available, and the system should switch to them automatically if 3D cannot run. A beautiful view should never be a condition for reaching the information.
How to start: practical steps
- Code your locations first. Define zones, aisles, racks and levels with stable, clear codes, and put the same code on a label on the physical rack.
- Turn on location tracking for the warehouse and create the layout from a simple template: the number of zones, racks per row and levels per rack.
- Assign products to locations, setting a primary location for each product so it is suggested automatically on receipt.
- Record movements in the right location from day one — the picture is only as accurate as the recording.
- Make the view part of the daily meeting and start with the racks that need attention.
Quick checklist
- Every rack carries a label that matches its code in the system.
- Every active product has a primary location in each warehouse where it is stored.
- Receipts are recorded in the location where the goods were actually put away.
- Cycle counts cover the fastest-moving racks.
- The team knows how to use the 2D plan and the list when needed.
The smart warehouse in MIRSAD, in short
In MIRSAD, the 3D warehouse is built from the storage locations you define yourself. Search for a product by name or code and the exact rack and level light up with the recorded quantity; you can rotate, zoom and reset the view, the picture refreshes after movements are posted, and the 2D plan and list are always available. Details are on the Smart 3D Warehouse page.
A 3D view is a tool for understanding and orientation. Its real value is that it makes location data visible to everyone. Start with sound location codes and disciplined recording, and the picture becomes a daily reference for your team rather than just a nice display.